Landscape photography editing isn’t just about making pretty pictures—it’s about guiding the viewer’s eye exactly where you want it. Here’s how to do that in Lightroom.
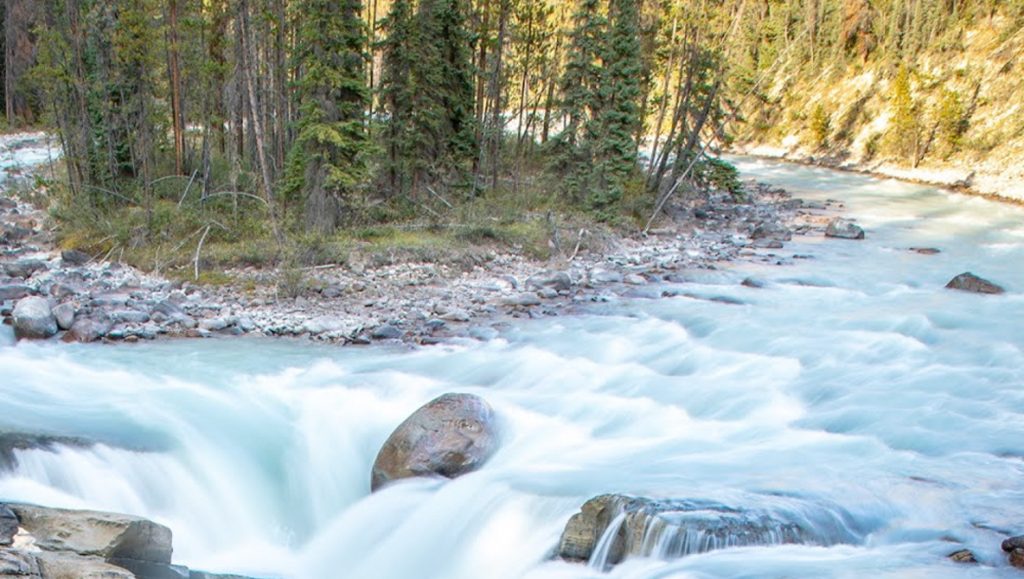
Coming to you from Aaron Nace with Phlearn, this practical video breaks down editing a long-exposure landscape photo in Lightroom, starting with camera settings. Nace points out that a slow shutter speed—like the 0.4-second exposure used here—captures motion blur beautifully, but requires careful balancing with aperture and ISO to maintain correct exposure. He specifically chose an aperture of f/16 and ISO 50 to counterbalance the lengthy exposure. For sharpness and clarity, he emphasizes that a tripod is essential.
The real value comes when Nace begins editing the image, demonstrating how simple adjustments can dramatically enhance a landscape. Initially, he uses Lightroom’s auto settings to quickly improve overall exposure, but he quickly moves beyond that. For instance, Nace applies a linear gradient mask to selectively reduce overly bright highlights at the top of the image, without darkening the nearby trees. This nuanced approach prevents the scene from appearing artificial or overly edited. Then, using a brush mask with low flow, he fine-tunes brightness along the shoreline, subtly reducing brightness to preserve detail and maintain a natural feel.
Next, Nace dives deeper into creating a focal point. He employs a radial gradient mask to brighten and add contrast to the waterfall, naturally guiding your eye there. By brightening this area slightly, he ensures that viewers instinctively focus on the central feature of the landscape. Further refinement comes as he selectively darkens surrounding rocks, ensuring they complement rather than compete with the waterfall. His technique remains subtle, carefully preserving shadow detail to avoid a heavy-handed look.
Beyond exposure, Nace also enhances color selectively, demonstrating how small color adjustments can significantly impact your image. He selectively intensifies the water’s blue tones to enrich the visual interest, while carefully adjusting the green hues of distant foliage, ensuring the colors harmonize with the foreground. Each step is carefully managed through individual masks, making the adjustments targeted and deliberate rather than broad and general.
One particularly insightful technique Nace covers is enhancing rock highlights through luminance masking. By intersecting a luminance range mask with a brush, he selectively lifts the brightest tones of the rocks. This approach adds depth and visual texture, drawing further attention to the waterfall area. Check out the video above for the full rundown from Nace.
And if you really want to dive into landscape photography, check out our latest tutorial, “Photographing the World: Japan II – Discovering Hidden Gems with Elia Locardi!”